How to Connect Your Estimator to Zapier (No Tech Skills Needed)
Want your new leads to land in your CRM, email tool, or even a Google Sheet — instantly and automatically?
This guide shows you exactly how to connect your PriceGuide estimator to Zapier using our official Zapier app.
Step 1: Click the PriceGuide Zapier App Invite Link
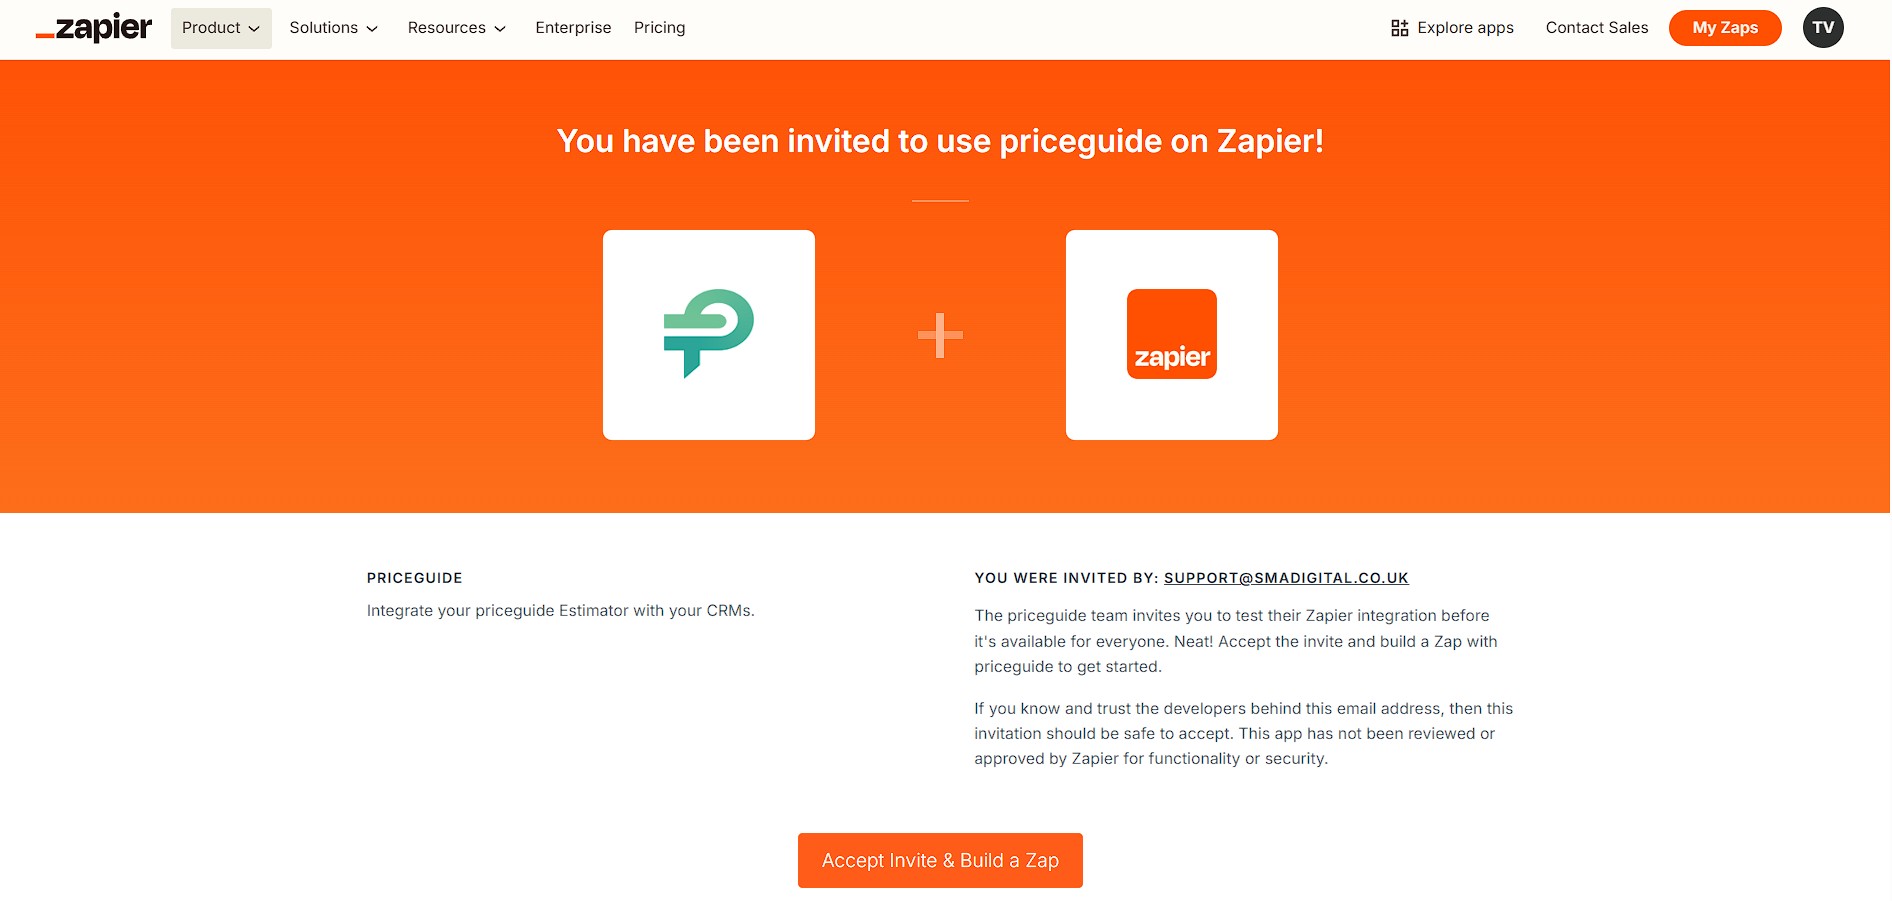
Start by clicking this link to access the PriceGuide Zapier app:
👉 Join the PriceGuide App on Zapier
If you’re not already logged into Zapier, it’ll ask you to log in or sign up first.

Step 2: Click “Create Zap”
Once you’re in, click the big “Create Zap” button in the top-left corner.
This is where you’ll build the automation!

Step 3: Choose PriceGuide as the Trigger
When prompted to choose your Trigger app, select PriceGuide.
Then set the Trigger Event to:
👉 New Estimate
This means Zapier will run the automation every time someone completes one of your estimators.

Step 4: Connect Your PriceGuide Account
You’ll now be asked to connect your PriceGuide account.
Just click “Sign in”, log in with your details, and allow Zapier to connect to your estimators.
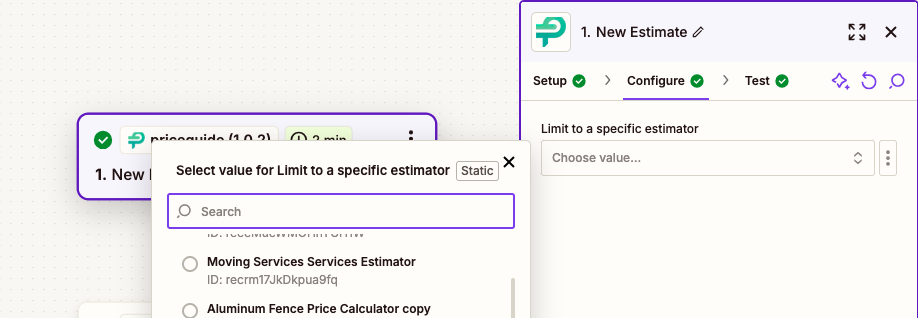
Step 5: (Optional) Configure Which Estimator to Use
You’ll land on the “Configure” tab.
By default, Zapier will trigger on any completed estimator — but you can choose a specific one from the dropdown if you want to narrow it down.

Step 6: Test the Trigger
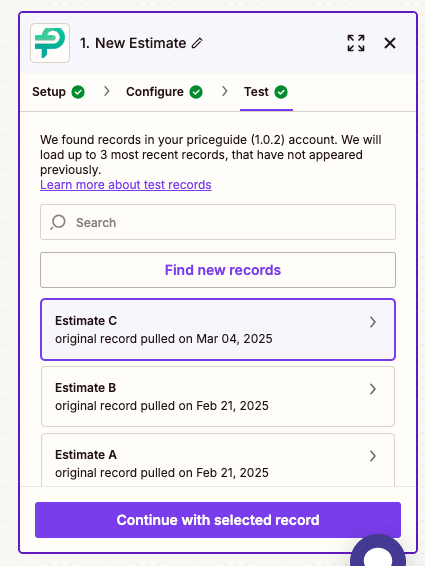
Click “Test Trigger” to make sure it’s all working.
If someone has completed your estimator recently, you’ll see the test data pulled in — name, email, answers, and so on.

What Happens Next?
Now that PriceGuide is set up as your trigger, it’s time to choose what action Zapier should take.
This can be just about anything:
- Send the contact to your CRM
- Add the person to your email list
- Ping your Slack team
- Update a Google Sheet
Whatever tool you already use, Zapier probably connects with it!
Just pick your next app, follow the prompts, and you’re done. Your estimator now works for you behind the scenes.
On This Page:
Have More Questions?
We’d love to hear from you.
