


How to Setup Your First Estimator
Step by Step Guide to Setup Your First Estimator with Confidence and Ease
Creating your first estimator with PriceGuide.ai is like piecing together a puzzle of your business’s unique services and pricing.
It’s as simple and straightforward as we could possibly make it – with a lot of help from AI to make it as easy as possible.
Follow these steps, and you’ll have an engaging, informative estimator ready for your clients in no time!
To get started…
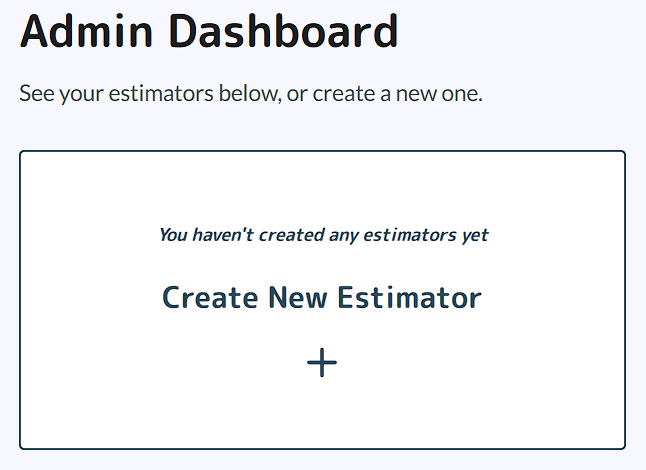
To begin, navigate to your dashboard and click on “Create New Estimator”. This is where the magic starts!
Step 1: Choose Your Industry
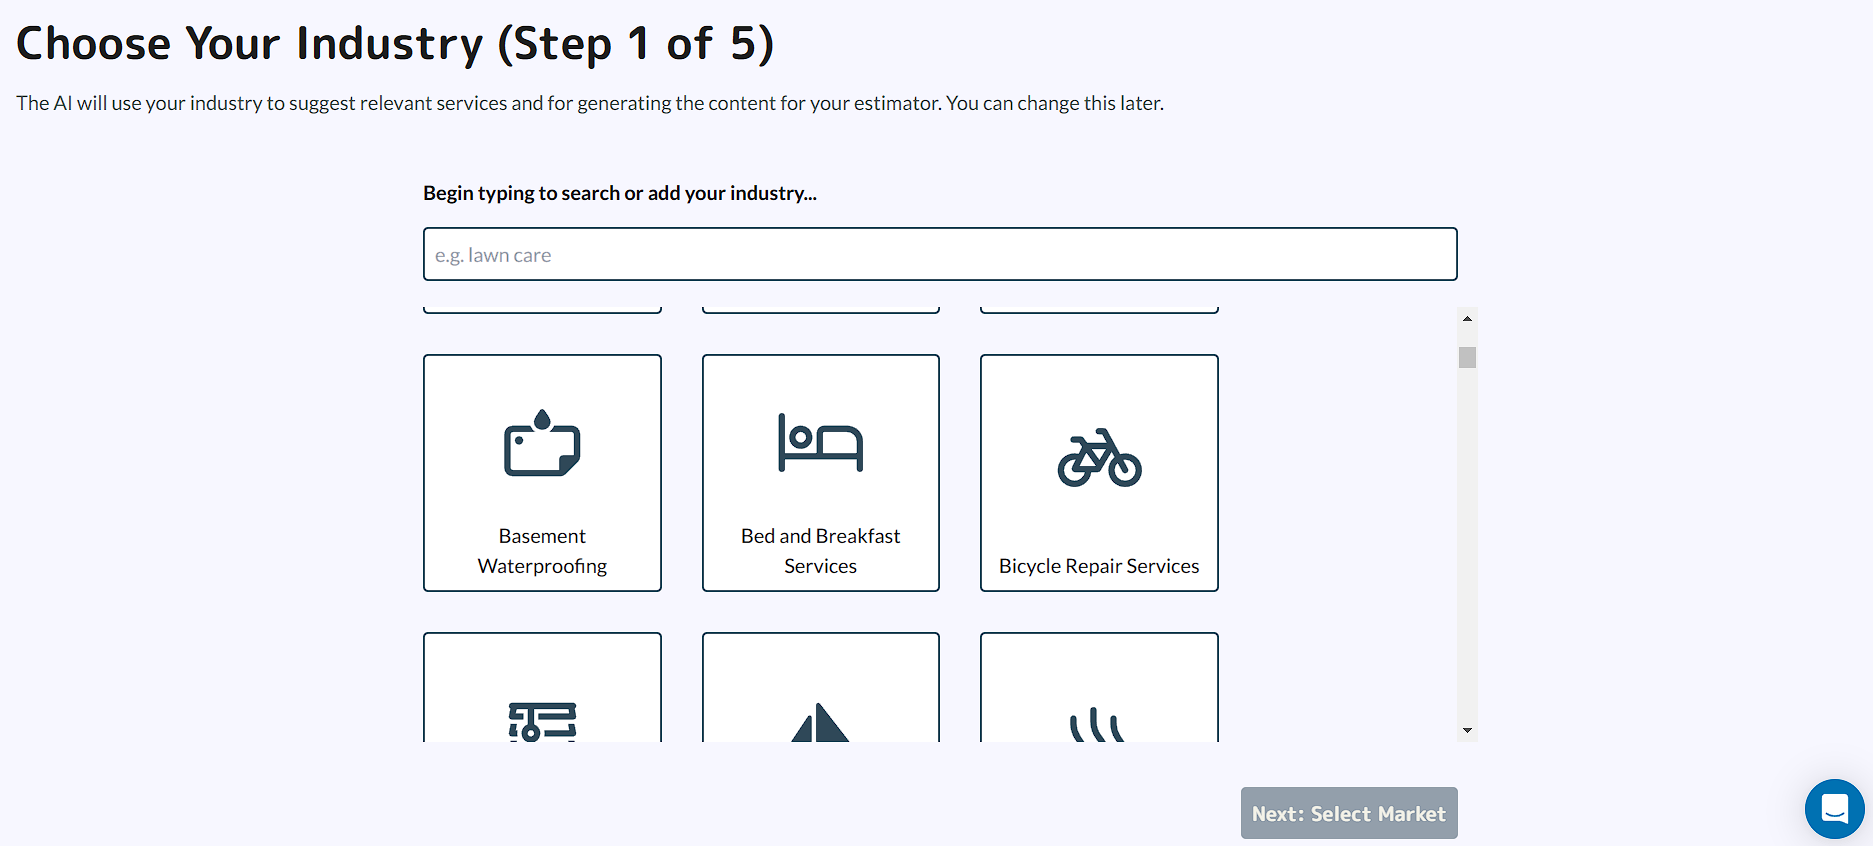
- What You Do: Start typing your industry in the search box. If it appears, click on it and then click on the button at the bottom right labelled “Next: Select market”.
- If the industry doesn’t exist in the pre-determined industries yet, you’ll be presented with the option to add it as a new industry. Click onto the “Add” box in the top right hand side, then click on the button at the bottom right labelled “Next: Select market”
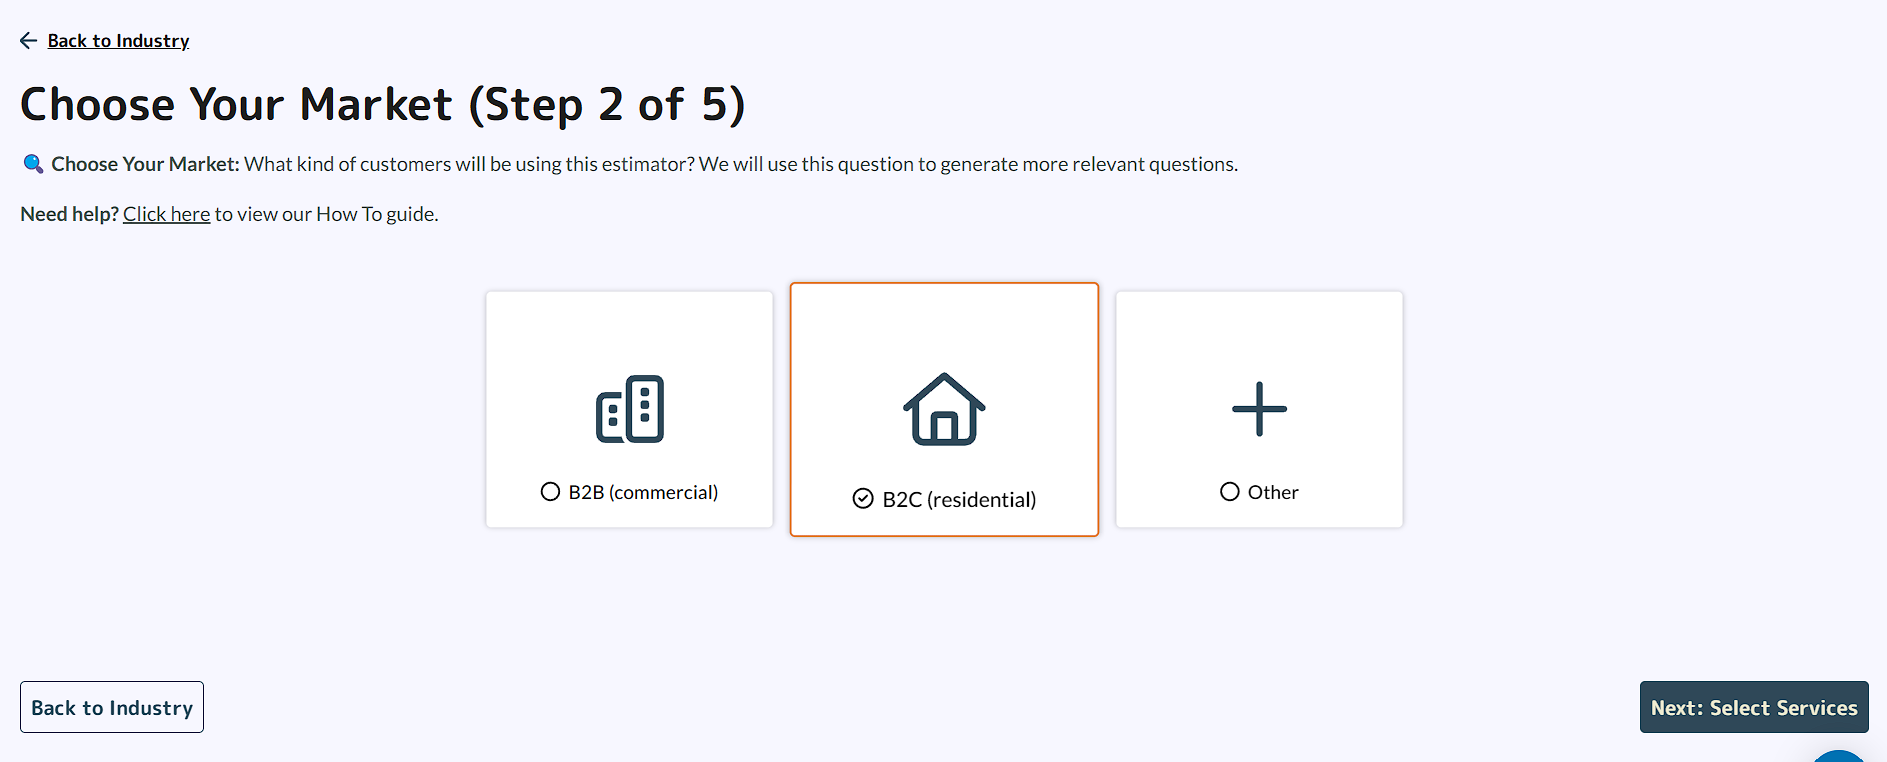
Step 2: Choose Your Target Market
Step 3: Select Your Services
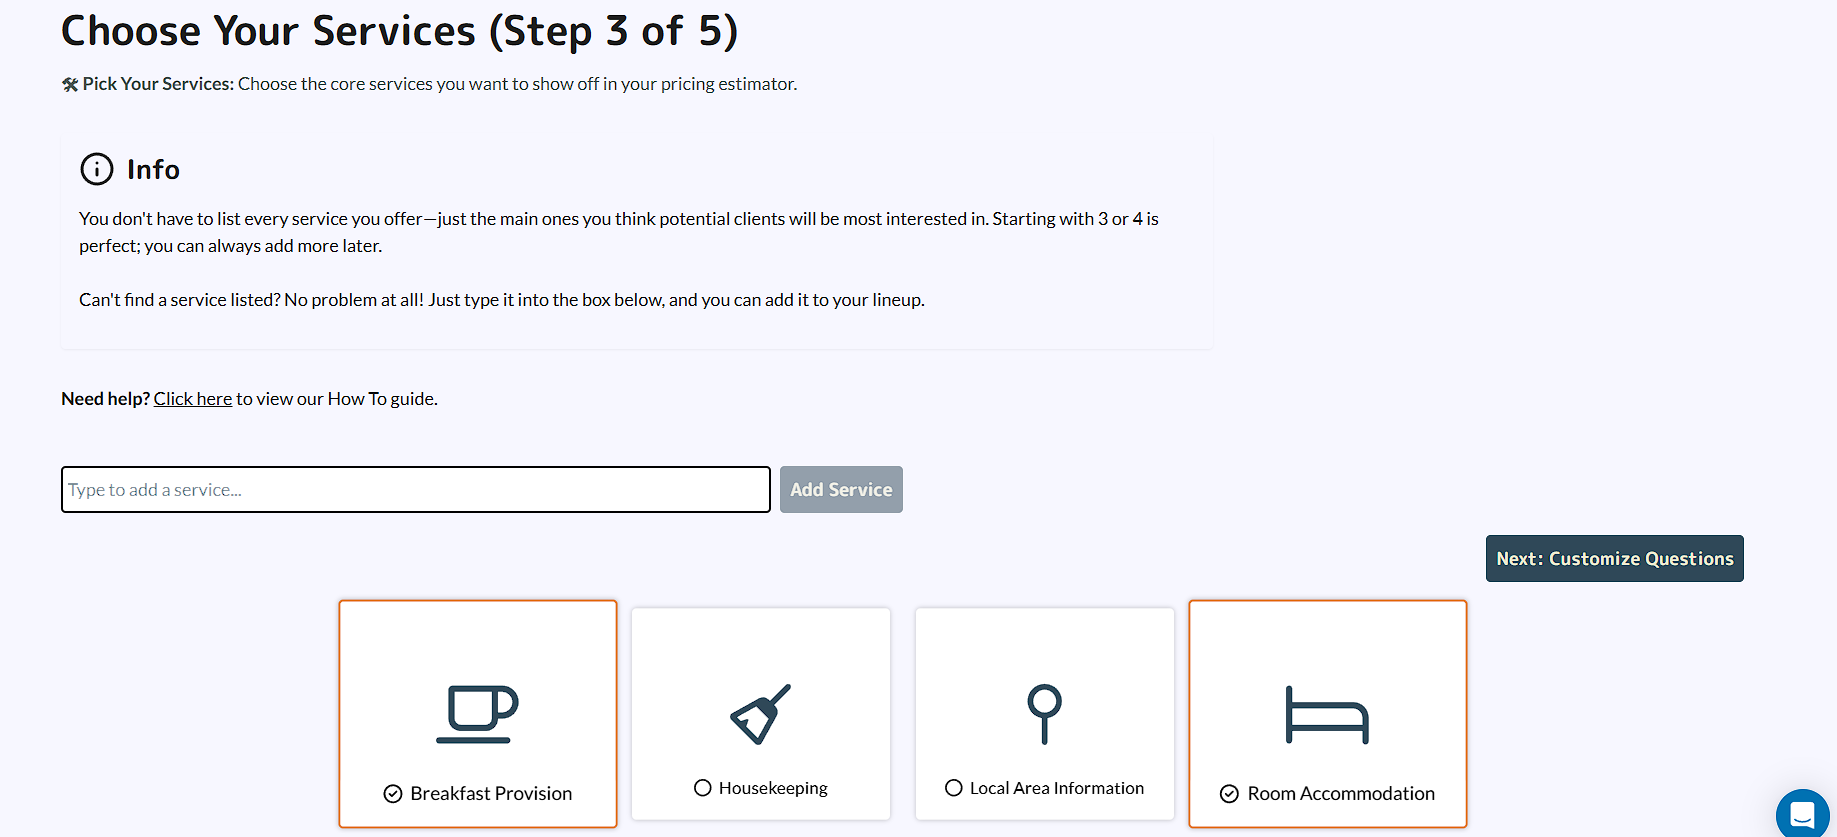
- What You Offer: Here’s where you pick the services you want to include in your estimator. Think about the main services you provide that you’d like potential clients to get estimates for. You can search and select from the list or type in to add any not already mentioned. We recommend starting with 3 to 4 core services to keep your estimator concise and focused.
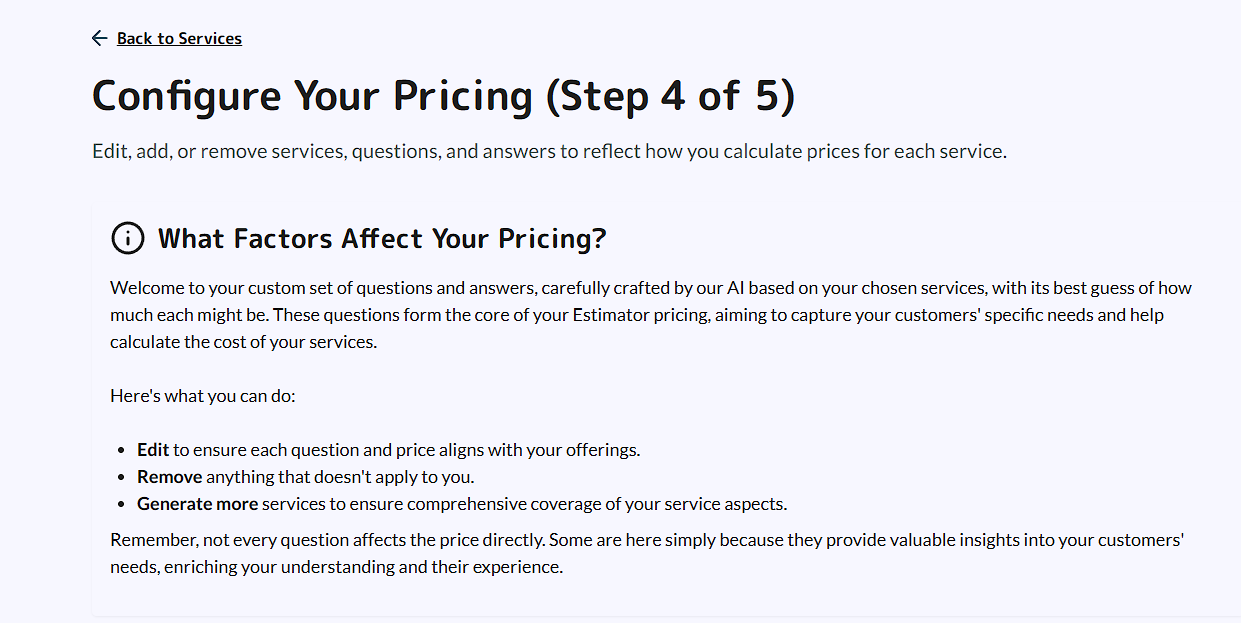
Step 4: Configure Your Pricing
- How You Charge: This step is all about setting up the base prices for each service and adding any questions that affect those prices. Some questions will be pre-generated by our AI based on your industry, but feel free to edit, remove, or add new ones to match your business perfectly. Remember, not every question needs a price change; some are just for gathering useful info.
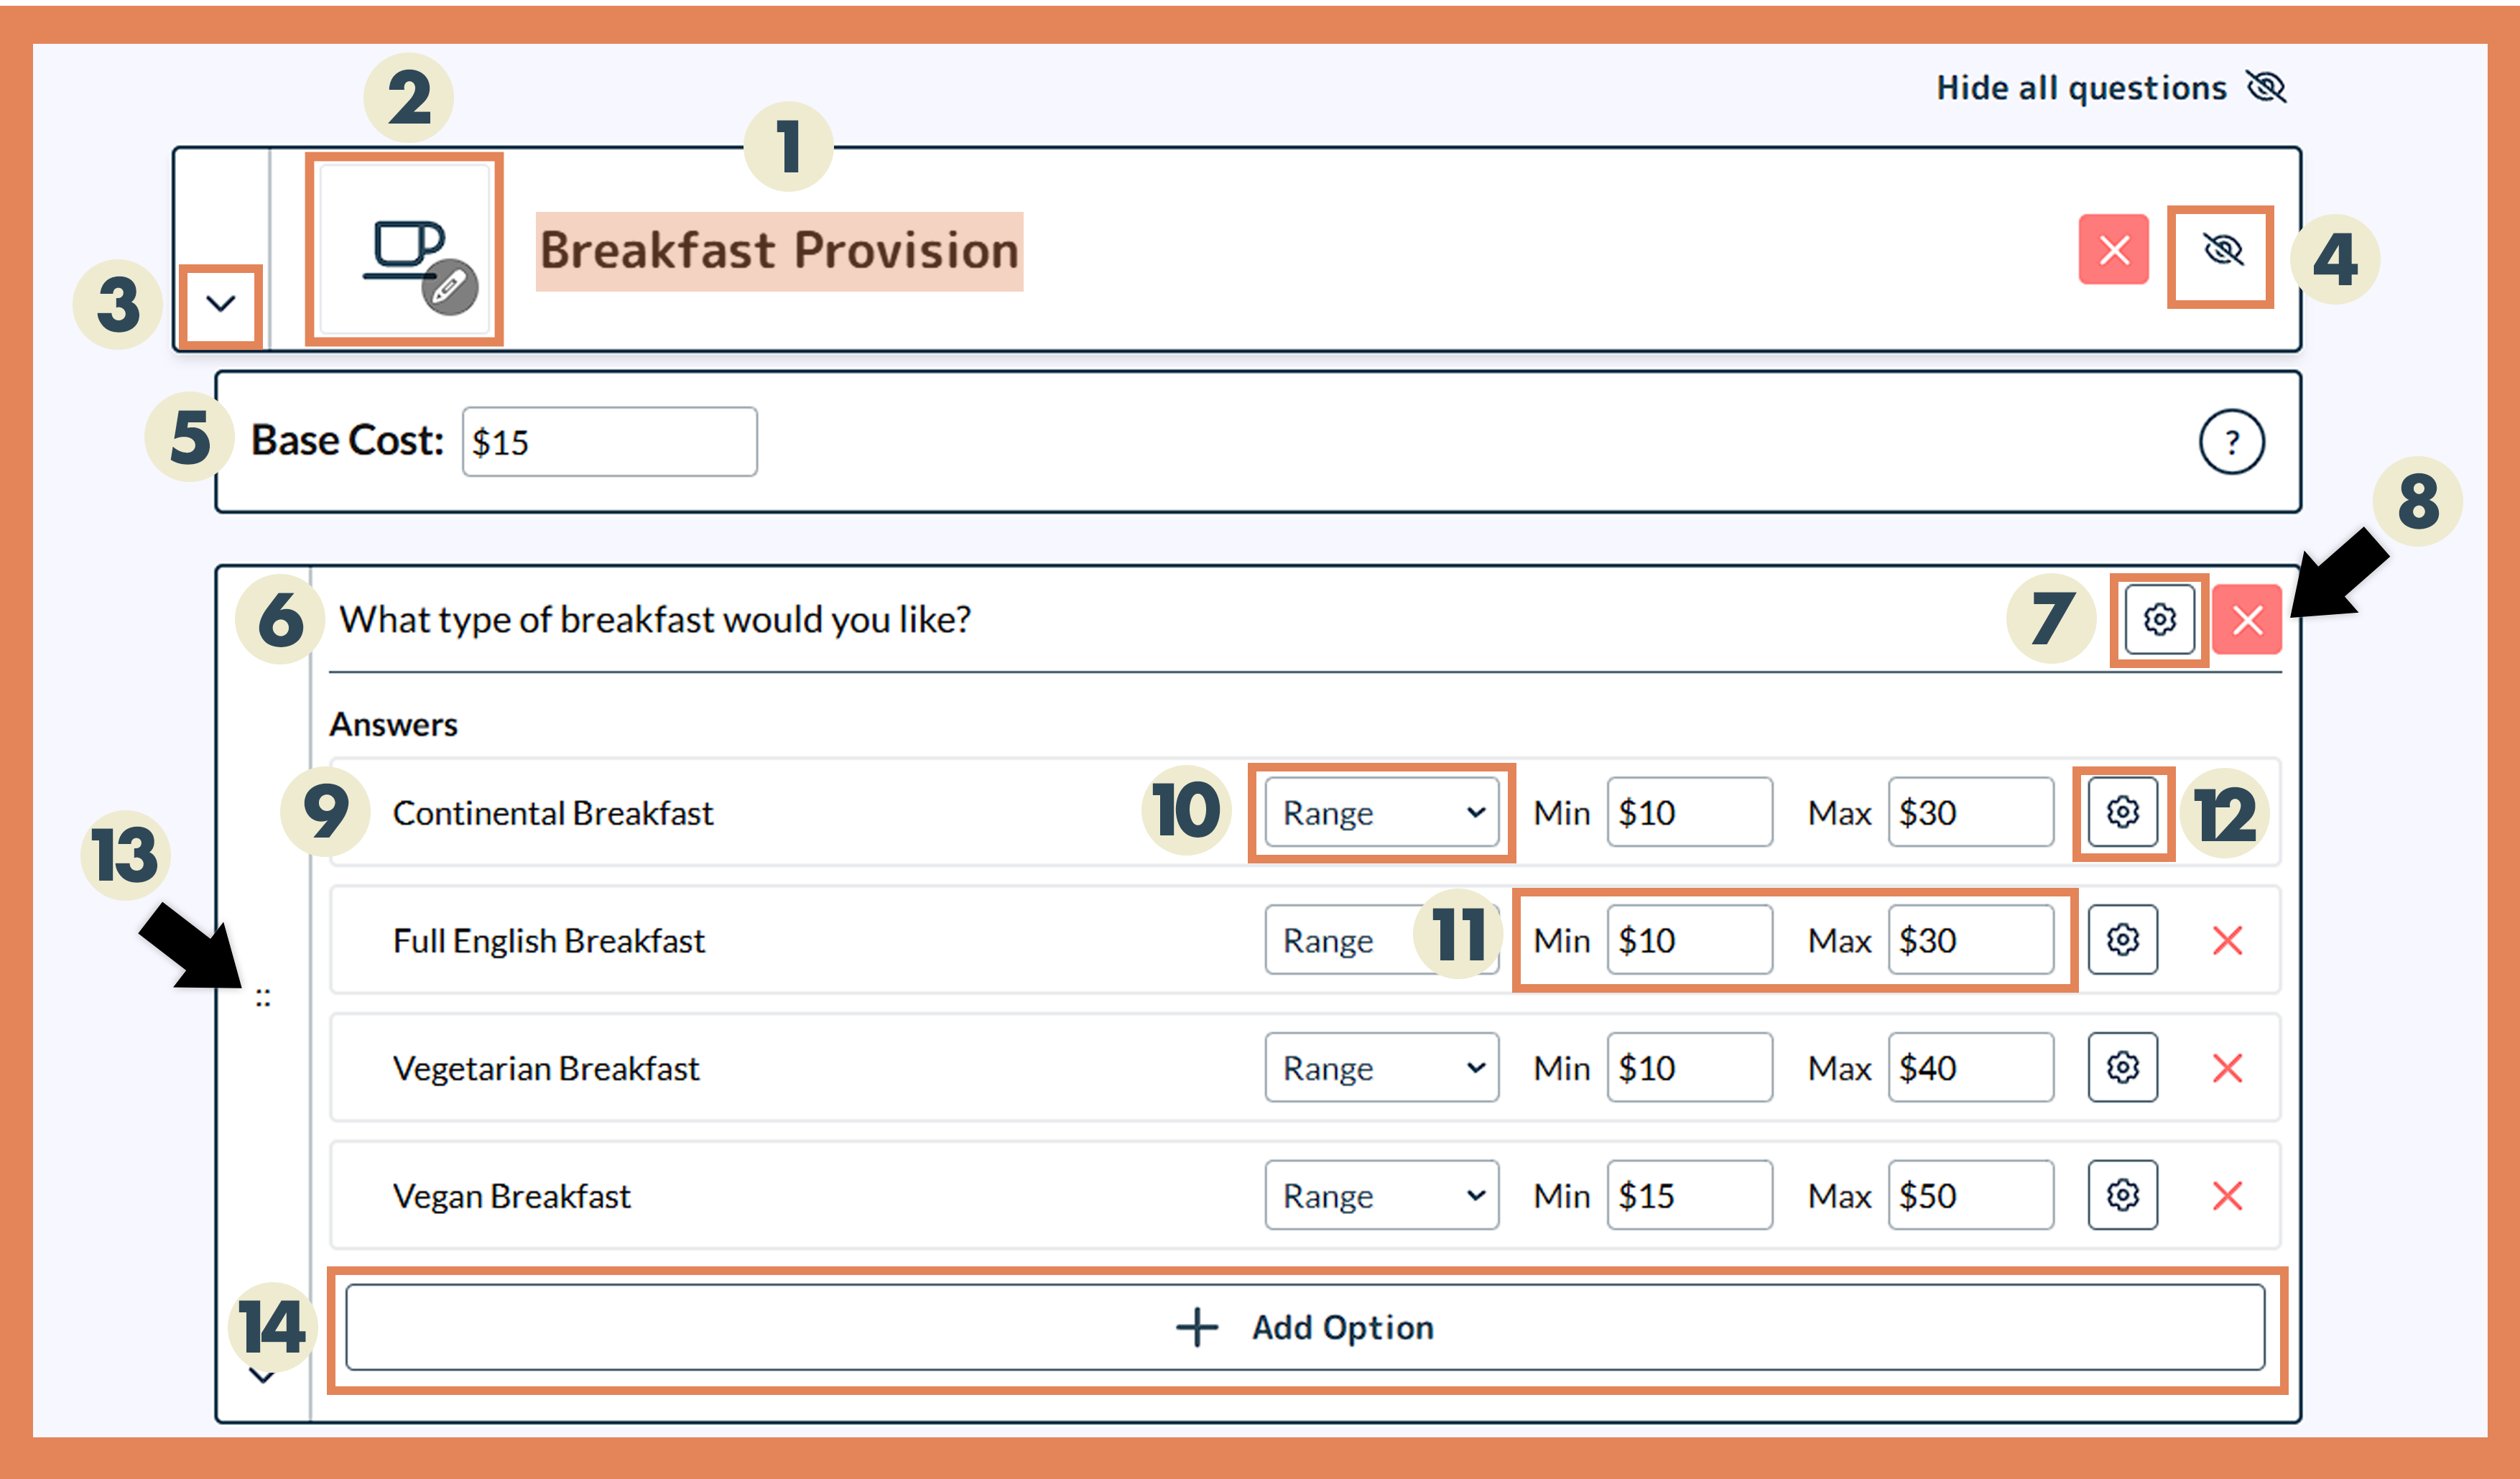
1. Service name – The title of the service being offered. This is the primary label users see to understand what service they are selecting or configuring.
2. Service Setting – Customize individual services by adding descriptions and images.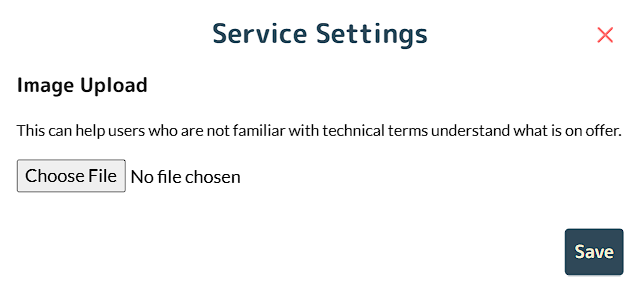
3. Re-arrange Services Arrow – Allows you to reorder the list of services by dragging the arrow. This feature is perfect for organizing services by priority or relevance.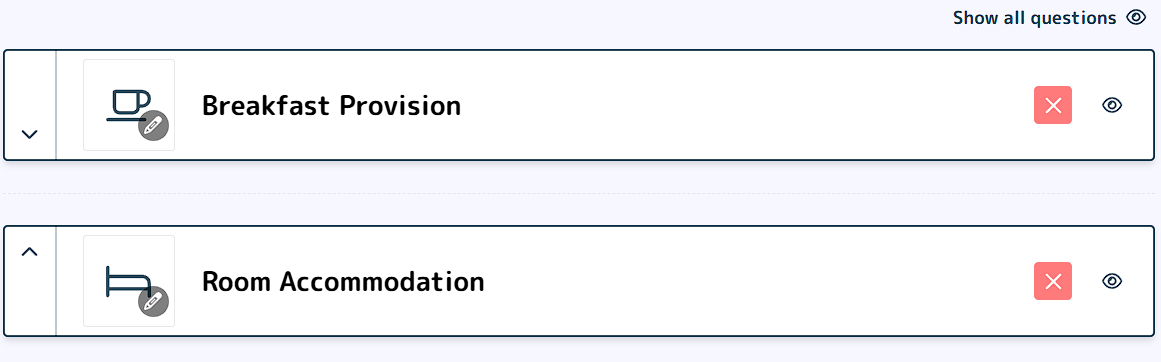
4. Hide/Show – You can hide/show all questions by clicking on the ‘eye’ icon on the right-hand side.
5. Base cost – Utilize the base cost as the cornerstone of your pricing strategy. It serves as the foundational element, delineating the inherent value of your product or service before factoring in additional expenses or discounts.
6. Question – Helps determine pricing (ps this can also be a question that you really need to know – it doesn’t always need to have a price associated with it).
7. Question Settings – Customize how questions behave and interact with pricing.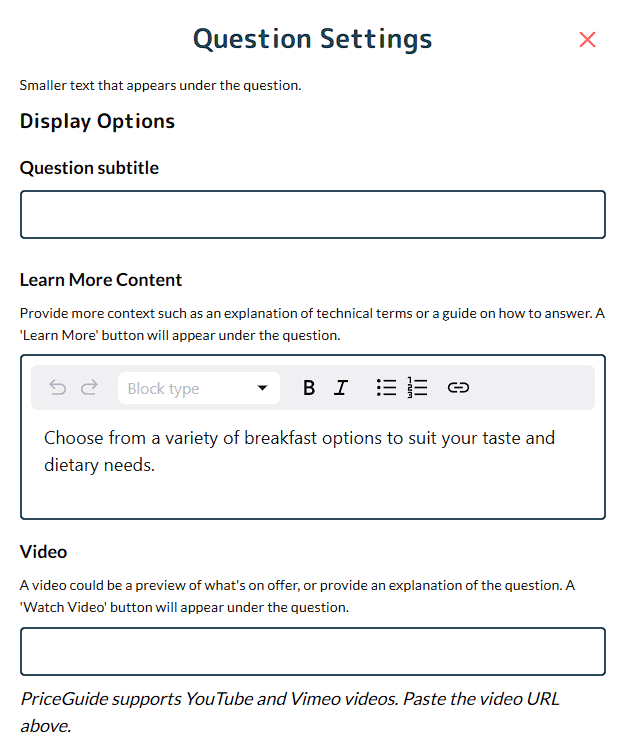
8. X – Used to delete an option/answer.
9. Options/Answers – Provides the ability to include new options/answers. Use this to expand choices available under each question.
10. Range – You can select different options to add a range which is the default, or it can be a fixed amount or a percentage.
11. Min / Max – These are the minimum and maximum amounts if someone selects these options, which adds on top of the base price.
12. Answer Settings – Add clarity to your answers by pairing them with images and descriptions.
13. Move around – You can move the ordering of the questions around by dragging the left-hand bar.
14. Add Option – Adds in a new option/answer for you to type in.
OTHER OPTIONS:

- Adding a New Question: This feature lets you add additional questions to your pricing estimator.
- Adding a New Service: You can add more services if you prefer as well.
How are the prices calculated?
Prices start with a base cost (the minimum charge you would do for a service, which can also be $0 if applicable).
We then add (or subtract if applied) the costs directly to this base number to keep it simple.
If you select to add or remove a percentage, these are applied to the total of that particular service.
For example:
- Base cost: $100
- Fixed addition of $50 makes it $150
- Variable range of $100-$200 changes it to $250-$350
- A 10% increase then adjusts it to $275-$385.
- We round to the nearest significant digit for clarity, so $2,341.20 becomes $2,340.
Step 5: Results Page Content
- Your Message to Clients: The results page is where your clients will see their estimated price. In this part, you can also personalize the text that will appear when they view their results.
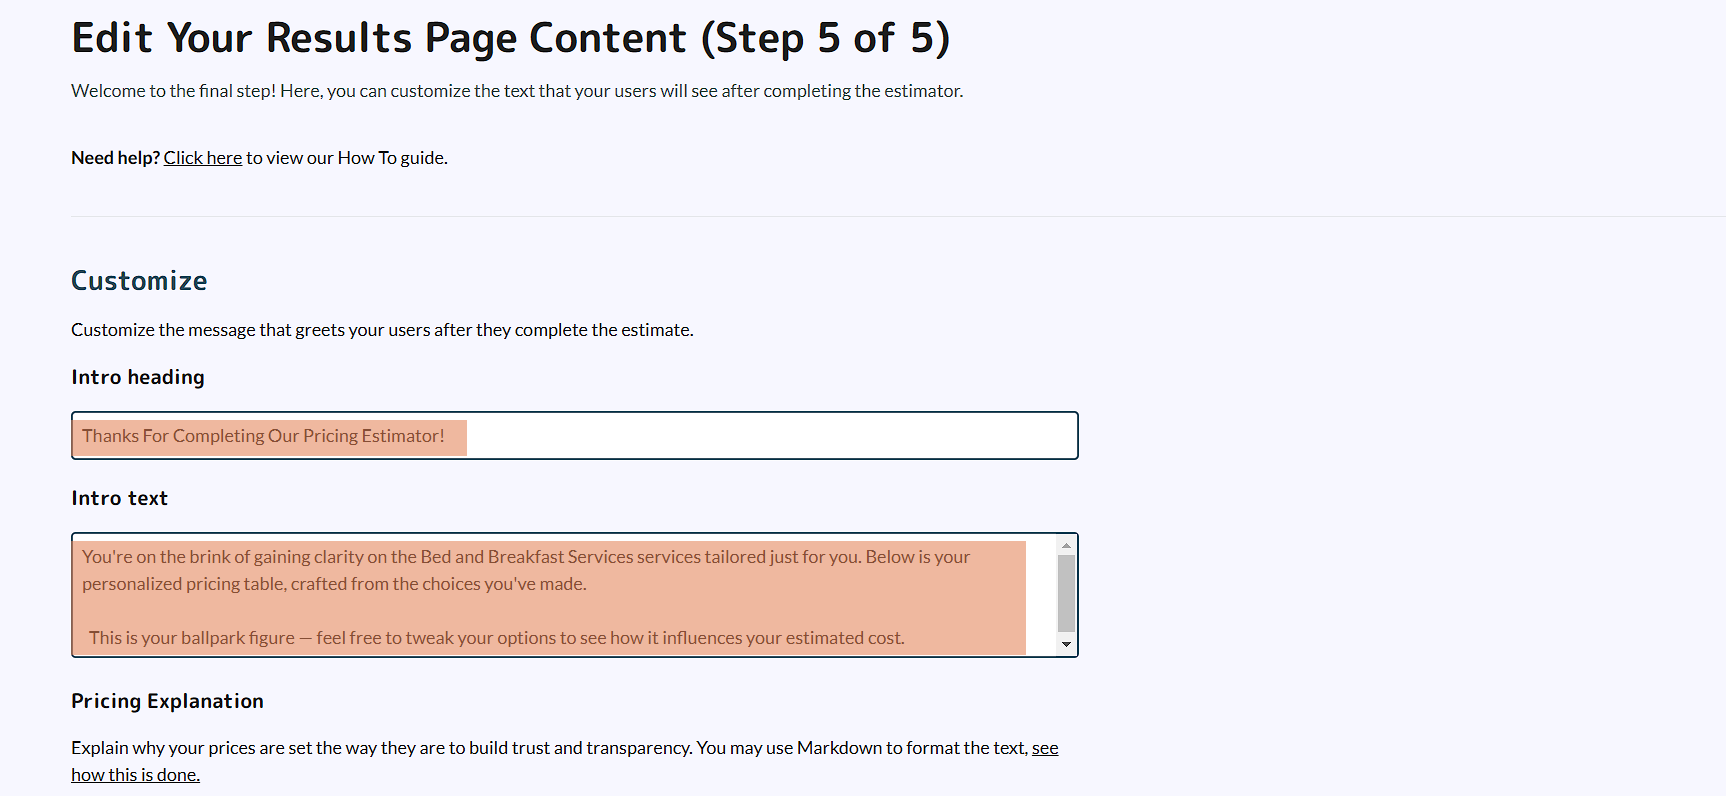
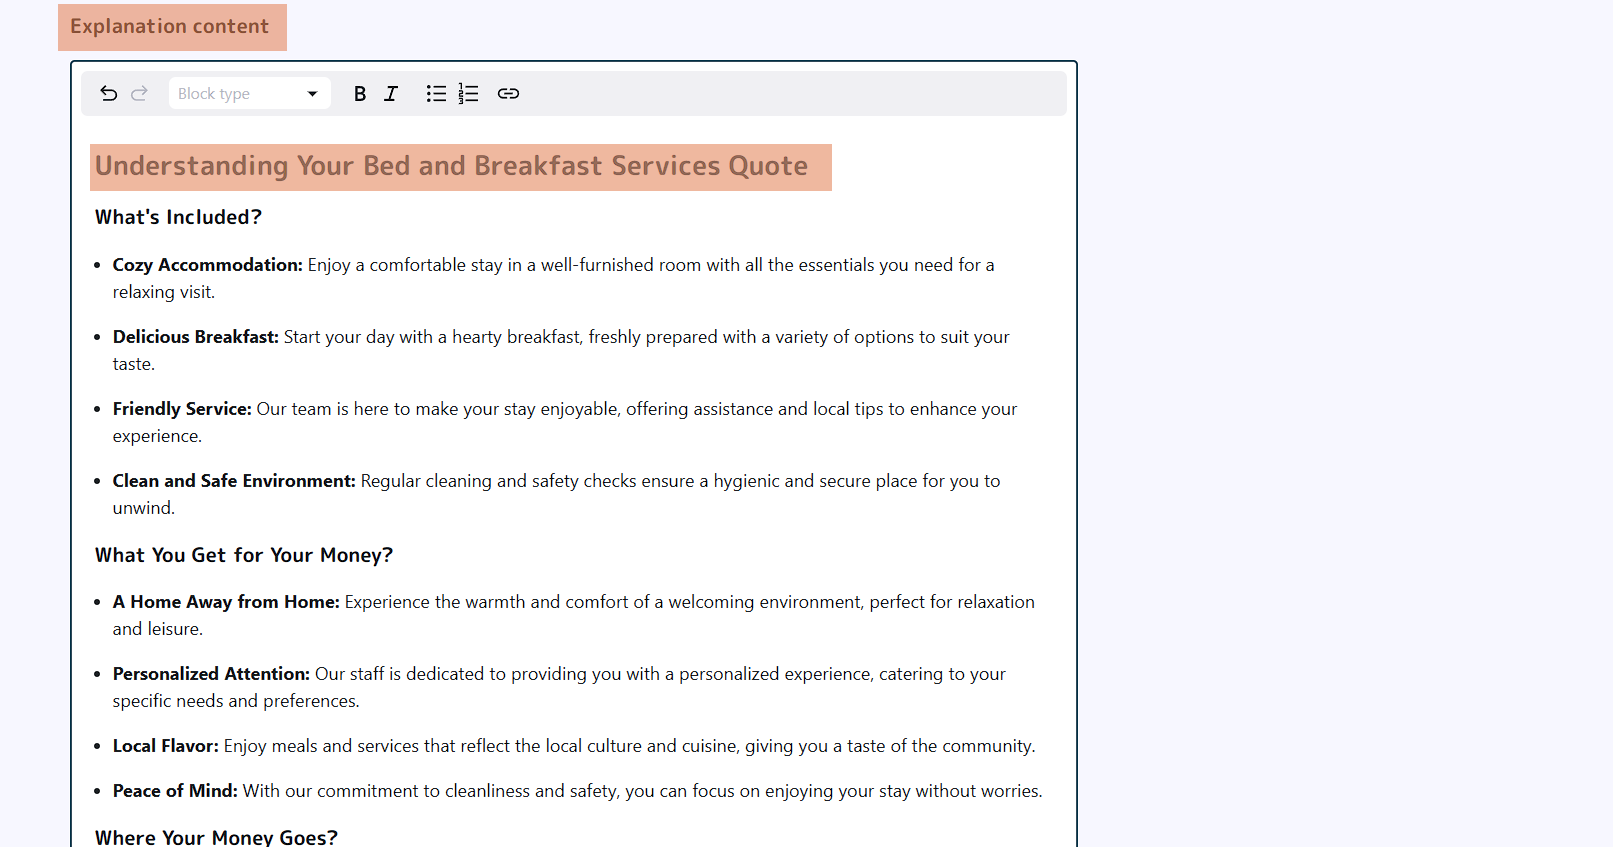
- Pricing Explanation: We also provide default content that is aimed at building trust through transparency. This text is designed to be good to go, but you’re encouraged to personalize it to reflect your business’s voice and values.
If you’ve already mastered the basics of setting up your pricing calculator, it’s time to explore what’s possible with Advanced Content Customization. With these powerful tools, you can fine-tune your messaging, add personalized touches, and create an even more engaging user experience.
From crafting tailored quiz prompts and email descriptions to embedding videos and adding custom links, this feature lets you shape every interaction to align perfectly with your brand.
Want to learn how? Click here to explore Advanced Content Customization Settings and discover how to make your calculators truly your own!
Optional Content Customization Settings
Customizing your pricing estimator is a great way to enhance user experience and make your brand messaging more engaging. With Optional Content Customization Settings, you can tailor various text fields to guide users seamlessly through the estimator process.

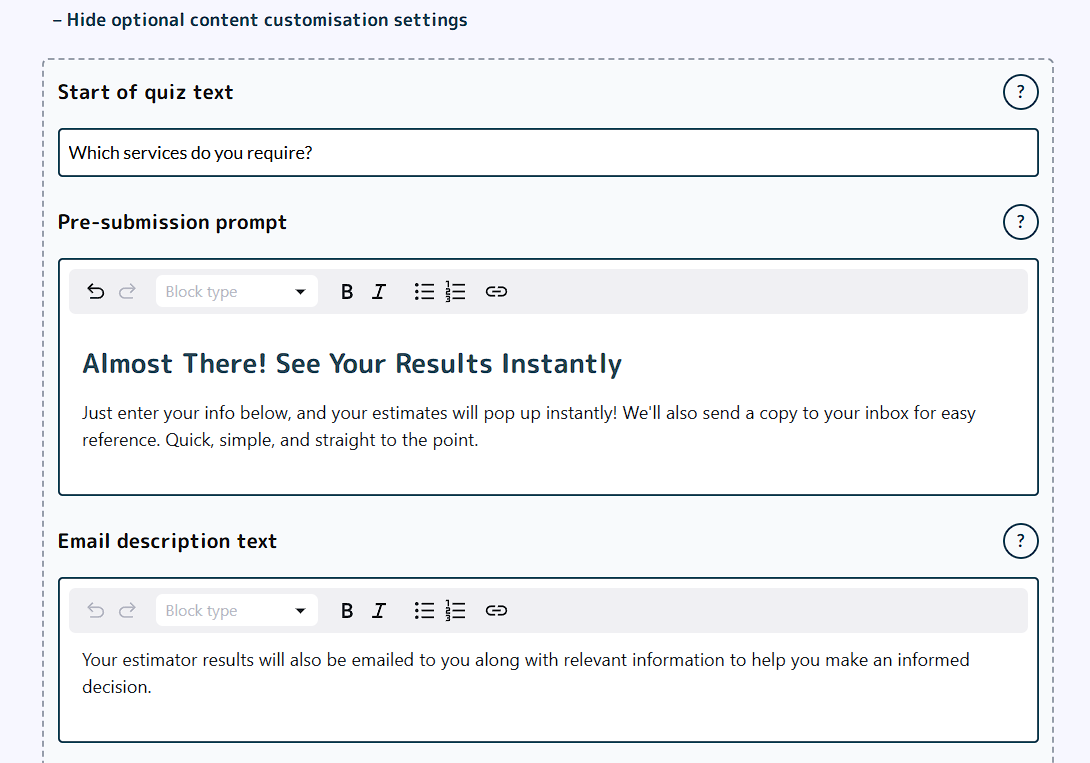
- Start of Quiz Text: The first question users see—keep it clear and relevant to your service.
- Pre-Submission Prompt: Encourages users to enter their details by reassuring them of instant results.
- Email Description Text: Sets expectations that the estimate will also be emailed for easy reference.
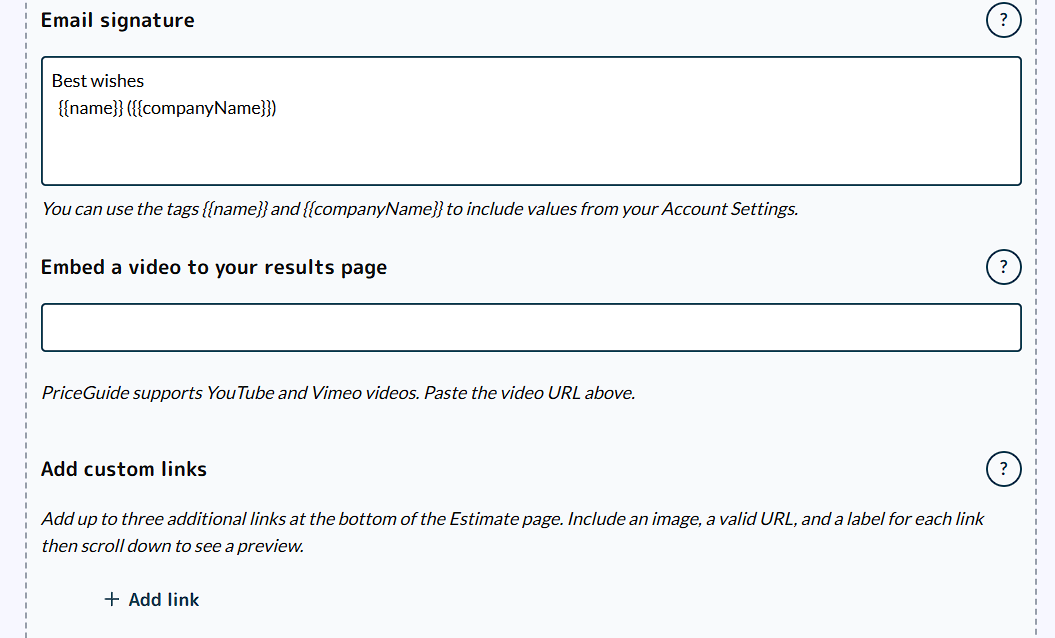
- Email Signature: Personalises emails with your name and company for a professional touch.
- Embed a Video: Add a YouTube/Vimeo video to explain the estimate or build trust.
- Add Custom Links: Direct users to key actions like booking, portfolio, or contact pages.
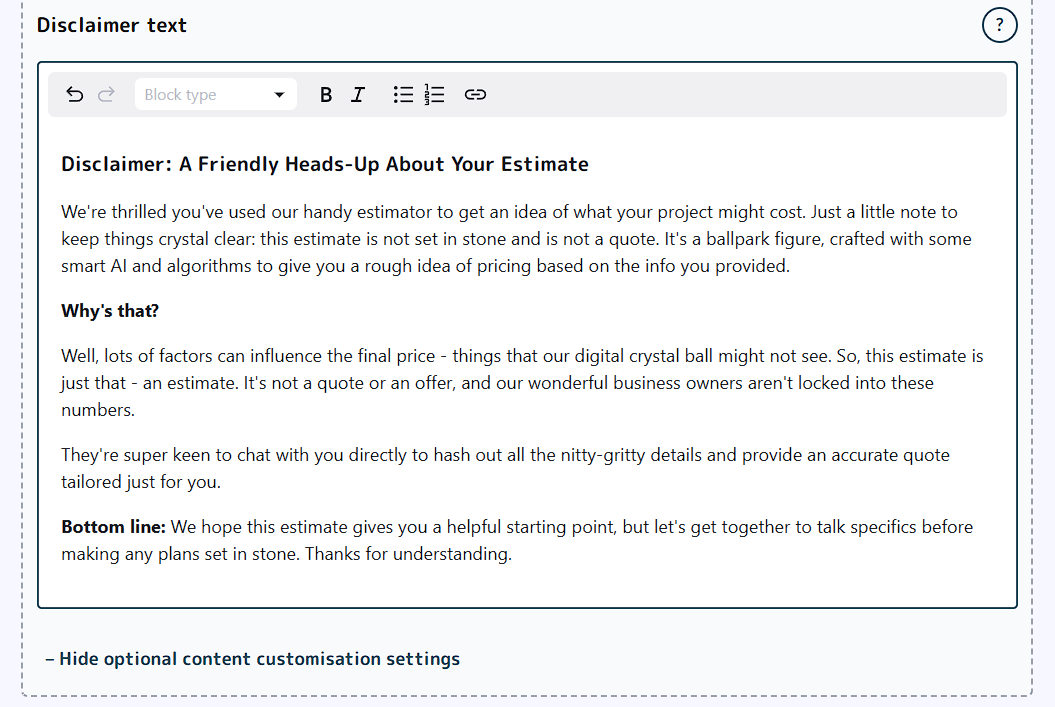
- Disclaimer Text: Clarifies that the estimate is not a final quote and may vary.
Advanced Question Settings
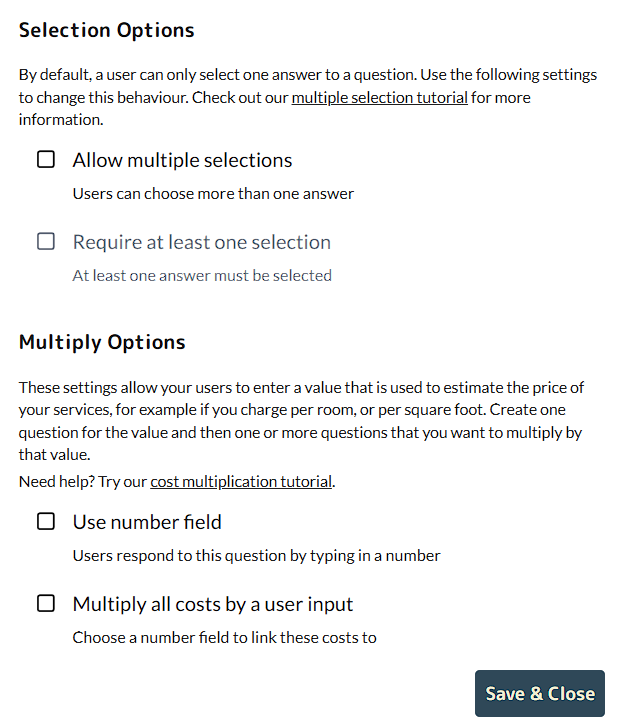
- Multiple Selection Option: Allow users to select more than one answer on a question. Read more via https://priceguide.ai/multiple-selection-option/

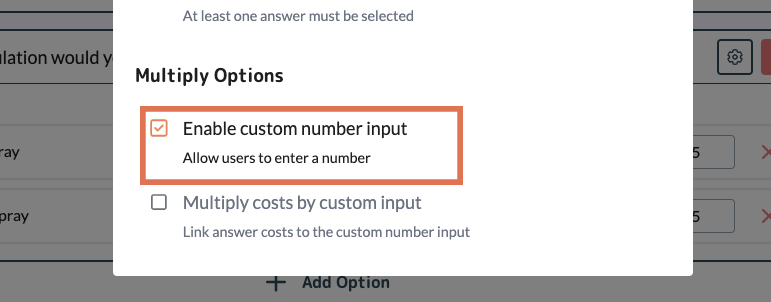
- Multiply Options: Allow users to type in a number, and then multiply it by another question. Read more via https://priceguide.ai/multiply-options/
On This Page:
- Choose Your Industry
- Choose Your Target Market
- Select Your Services
- Configure Your Pricing
- Results Page Content
- Optional Content Customization Settings
- Advanced Settings
Have More Questions?
We’d love to hear from you.