


Add Images to Your Answer Options
A Quick Guide

Include visuals alongside your answer options, enhancing clarity and helping your prospects better understand each choice.
Whether you’re highlighting different styles, materials, or product variations, this feature will bring your pricing estimators to life.
Here’s how to get started:
Step 1: Edit Your Price Estimator:
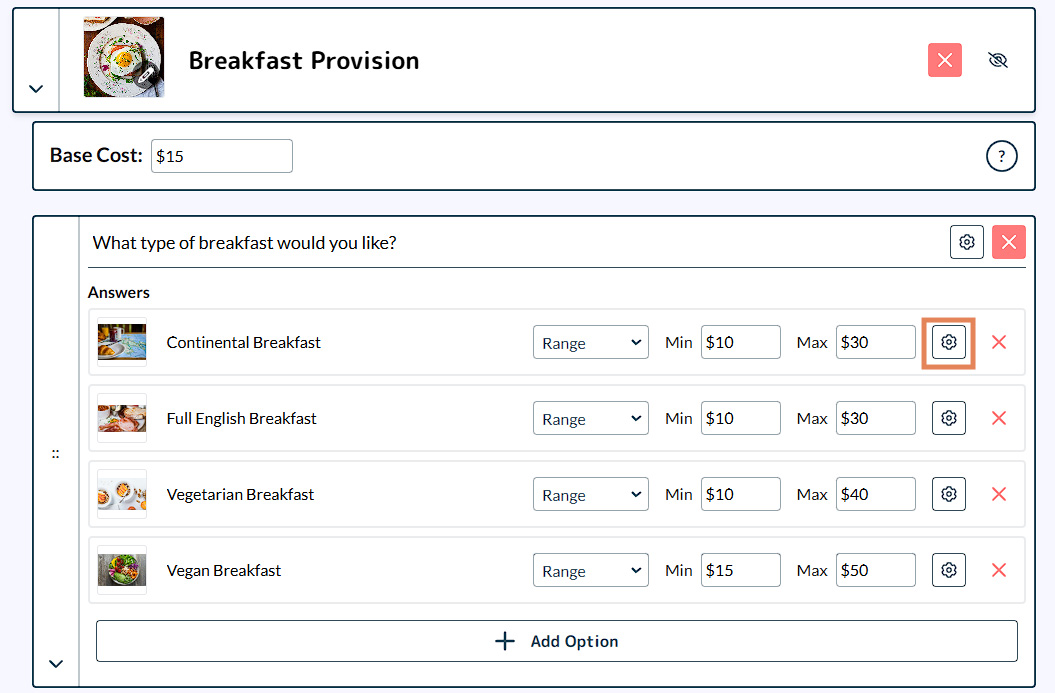
Open the price estimator you want to update and navigate to the question where you wish to add images.
Step 2: Access the Image Upload
Click on the gear (COG) icon next to the answer option.
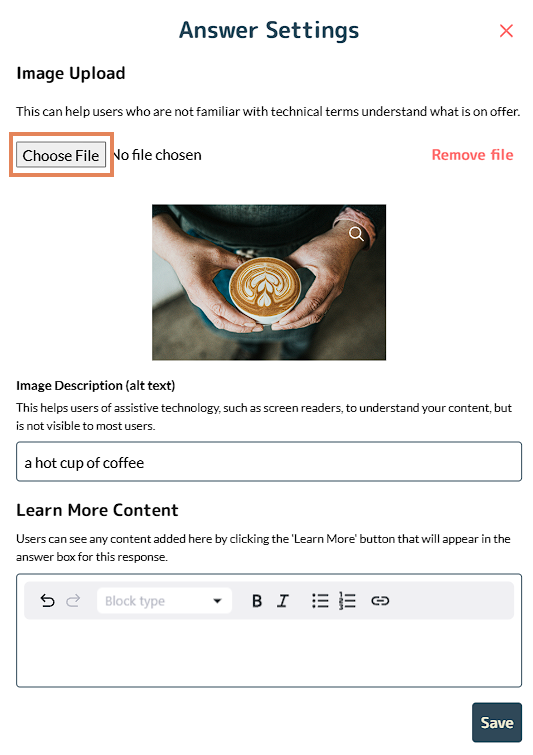
Step 3: Upload Your Image
Choose an image that is ideally minimum 1000 pixels wide x 500 pixels tall, at 72 DPI, for best results (it technically ‘can’ be any size, but the larger and more landscape the image the better it will look).
IMPORTANT:
We recommend ensuring the image you are using is a maximum of 500KB (0.5 MB) per image, so that the image loads quickly on all devices.
IF your image is bigger than this, consider:
1. Resizing the image, making it of 1000px wide.
or
2. Use an image compressor to shrink the file size. A good, free and simple to use one can be found at https://www.websiteplanet.com/webtools/imagecompressor/
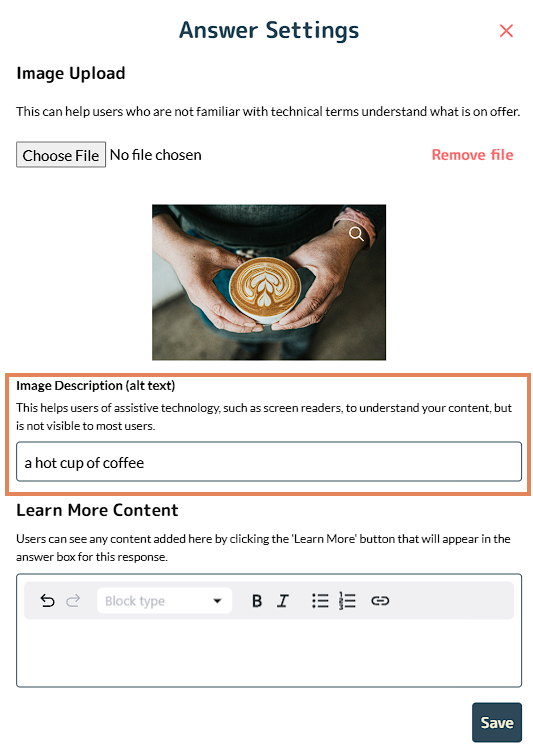
Step 4: Add a Description (Optional)
You can also include a text description. The layout will adjust automatically based on the image size and text length.
Step 5: Save Your Changes
Click ‘Save’ to finalize your updates.
We can’t wait to see how this new feature enhances your pricing estimators!
On This Page:
- Edit Your Pricing Estimator
- Access the Image Upload
- Upload Your Image
- Add a Description (Optional)
- Save Your Changes
Have More Questions?
We’d love to hear from you.