How To Setup Your Account
A Step-by-Step Guide To Creating Your Account with PriceGuide.ai
Follow these simple steps, and you’ll be up and running in no time. Remember, if you get stuck or have questions, we’re here to help!
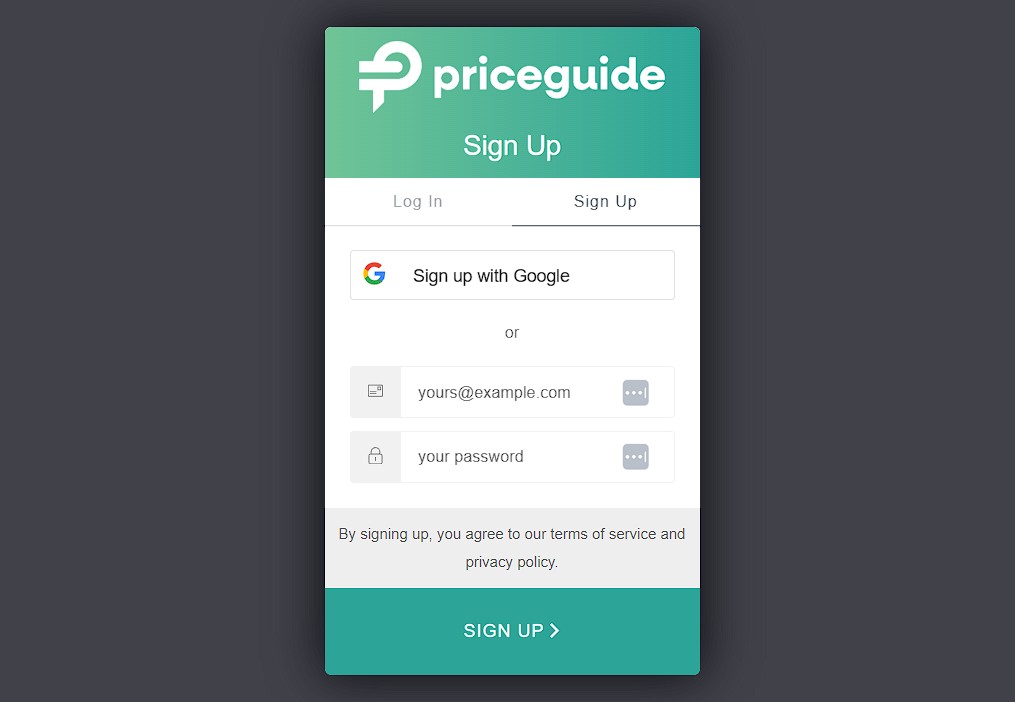
1. Start Your Adventure
First things first, let’s kick things off with a free 14-day trial.
2. Start the Sign up Process

Next, we’ll need a tiny bit of info to get things moving:
- Email Address: This is where we’ll send important updates, tips, and billing info. Make sure it’s one you check often!
- Got a Discount Code?: If you’ve got a special code (maybe from Marcus himself?), this is the place to use it.
3. Set Up Your Account Settings
Now, you’re on the Account Settings page. It’s time to fill out a short form about your awesome business. Here’s what you’ll need to add:
1. Your Email: Already covered! This is the email we’ll use to keep in touch with you.
Note: If you need to change this later, just reach out to our friendly support team. They’re always ready to lend a hand!
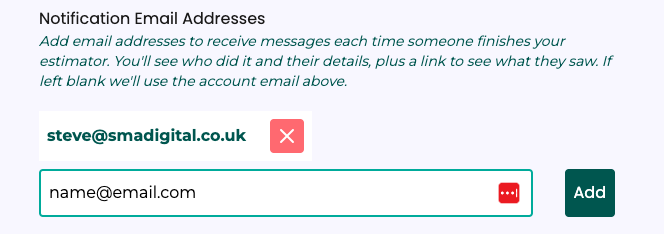
2. Notification Email Address: Where do you want to receive alerts when someone completes your estimator? It can be your email, a team member’s, or even a shared inbox. If left blank we’ll use the account email above.

3. Your Name: You’ve got this one down.
4. Company Name: This is how your company will be introduced to users.
5. Phone Number: The number potential clients will see and can use to reach out after checking out your estimator.
6. Contact Form Link: Help people get in touch by linking to your contact form. Just copy the URL from your website’s contact page and paste it here.
7. Privacy Policy: Do you already have a privacy policy on your site? Great! Copy the URL and paste it here. If not, no worries—we’ve got a default PriceGuide.ai policy to cover you.
8. Currency: Choose your currency, or leave as default ($USD).

Customize Your Account Design
Make your PriceGuide.ai estimator match your brand with custom colors, fonts, and styling. You can also configure Tracking Settings to integrate with analytics tools.
➡️ Visit the Design Options page to learn how to personalize your setup.
Tracking
Hubspot
If you have HubSpot CRM, add in your HubSpot tracking ID here to automatically track new leads.
We have a HubSpot integration tutorial worth checking out here (opens in a new tab).
Google Analytics
You can now add tracking codes for Google Analytics 4 (GA4) and HubSpot directly in your PriceGuide account! This allows you to track page views and capture leads automatically.
Facebook Pixel
We also have an additional tracking feature for Facebook Pixel.
If you’re running Facebook or Instagram ads, you can now track activity from your estimators directly in your Ads Manager.
It will automatically add a custom event called FormSubmitted, and include helpful details like the estimate URL — making your ad tracking and retargeting even easier.
To set up your tracking links, navigate to the Tracking tab in your Account settings. See the image below for reference:
![]()
For step-by-step instructions, check out our guide on How to Add Your Google Analytics Tracking Code to Your PriceGuide Estimator.
On This Page:
- Starting With a Free Trial
- Sign Up
- Add Your Details to the Account Settings
- Customize Your Account Design
- Add Tracking Links to Your Estimators
Have More Questions?
We’d love to hear from you.
