How to Add Your Google Analytics Tracking Code to Your PriceGuide Estimator
Learn how to add your Google Analytics 4 (GA4) tracking code to your PriceGuide estimator in just a few simple steps.
Adding your Google Analytics 4 (GA4) tracking code to your PriceGuide estimator allows you to track page views and user interactions. Follow these simple steps to set it up.
Step 1: Get Your GA4 Tracking Code
- Log in to your Google Analytics account at analytics.google.com.
- Navigate to the Admin section (⚙️ gear icon in the bottom left).
- Under the Property column, click Data Streams.
- Select your website’s data stream.
- Copy the Measurement ID (it will look something like
G-XXXXXXXXXX).
Step 2: Add the Tracking Code to Your PriceGuide Estimator
- Log in to your PriceGuide.ai account.
- Click on Account Settings.
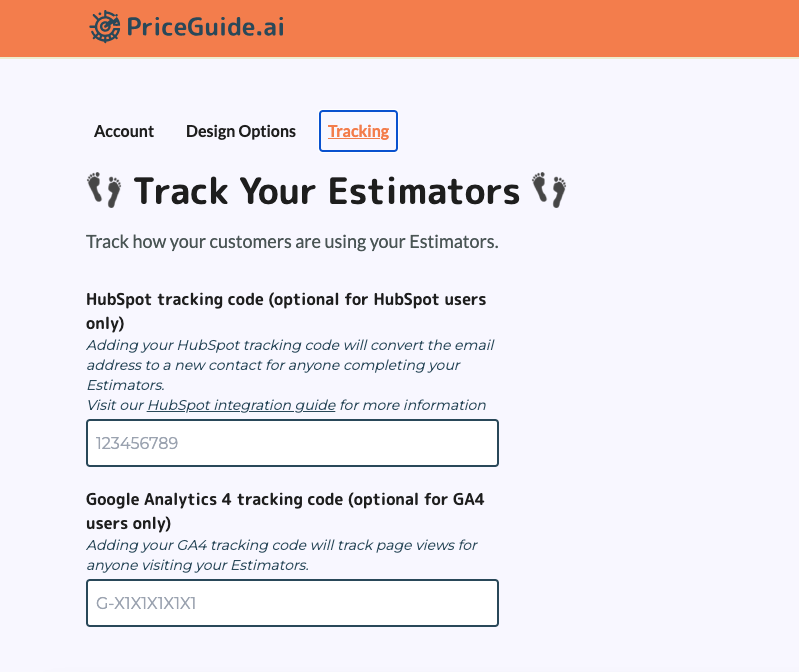
- Navigate to the Tracking tab.
- Find the section labeled Google Analytics 4 tracking code (optional for GA4 users only).
- Paste your GA4 Measurement ID into the input field.
- Click Save to apply the changes.
Step 3: Verify the Tracking Code
- Open your estimator in a new browser tab.
- Go back to Google Analytics.
- In the left menu, click Reports > Realtime.
- Refresh your estimator page and check if a new user visit appears in the Realtime report.
That’s it! You’re now tracking visits and engagement on your estimator using Google Analytics. 🎉
On This Page:
- Get Your GA4 Tracking Code
- Add the Tracking Code to Your PriceGuide Estimator
- Verify the Tracking Code
Have More Questions?
We’d love to hear from you.